
How to Make Homemade Kefir - Low Sugar
Make your own kefir in just two easy steps. Plus a review of kefir products available in the market.
As promised, here's Part 2 of My 3 Easy Ways To Improve Gut Health series:
I knew kefir was really, really good for gut health because a) kefir generally contains around 10 or more cultures/probiotic strains - compared to only about 4-7 cultures/probiotic species found in yogurt and b) kefir also contains yeast species for even more gut-health benefits.
So, I figured I'd take a crack at making homemade kefir.
Now, I did not expect to actually like plain, unflavored homemade kefir. Case in point: I'm the type of girl who eats plain yogurt only with toppings.
But after over a month of kefir-making, I'm kinda addicted to the super-creamy, a little fizzy, slightly sweet homemade kefir. Not to mention, it's way better than the store-bought varieties.
And it's EASY TO MAKE! If you've ever made homemade yogurt and thought it was tedious, making kefir is much simpler.
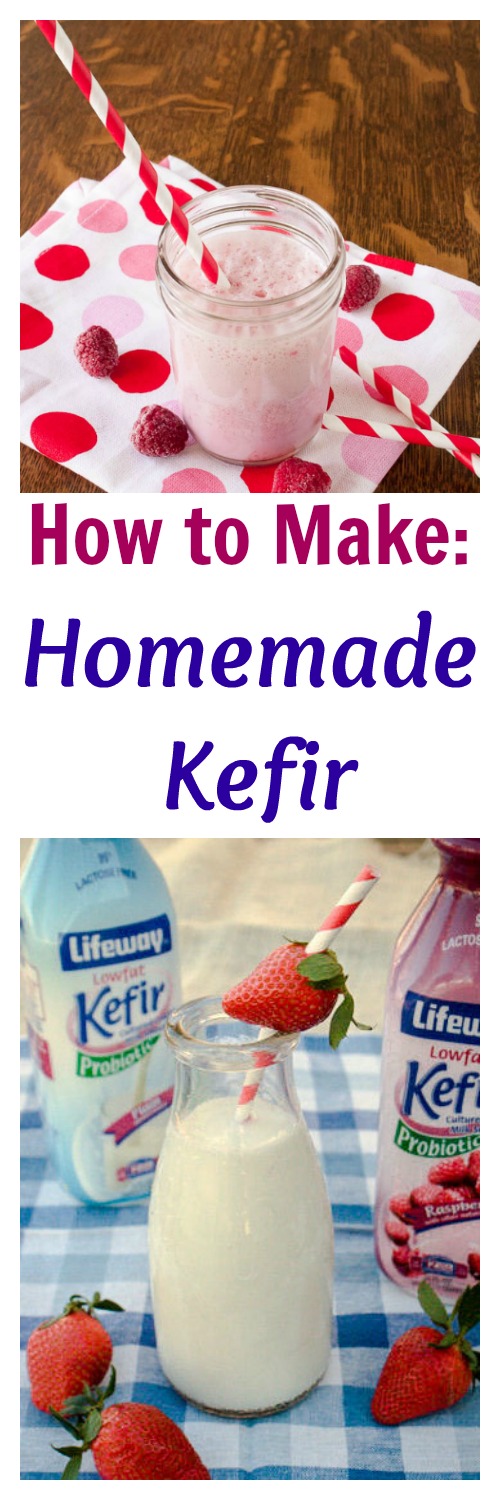
How to Make Homemade Kefir:
1. Add kefir grains to ½ to ¾ cup reduced-fat 2% milk. (More info below on kefir grains)
2. Cover jar with a clean kitchen towel and place in a warm spot on your counter. I placed on top of my dishwasher (because my kitchen is usually right at 68° - and kefir grains grow slowly below 68°)
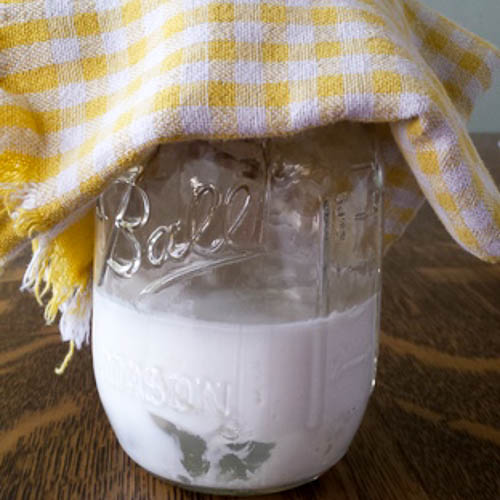
3. Wait 24 hours.
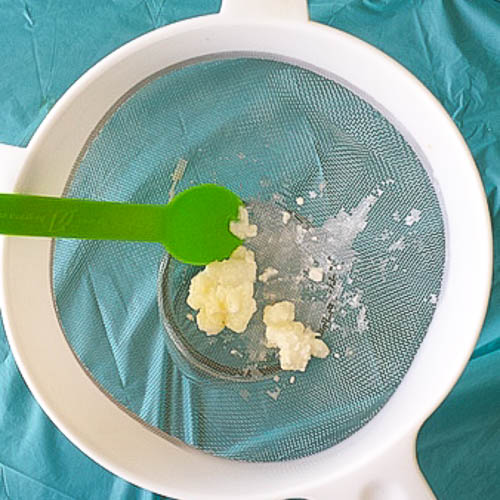
4. Strain out kefir grains for starting the next batch. (This is your 'mother culture.')
5. Drink! Or place in the fridge.
Now, I tested two different kefir-making techniques (powdered kefir starter culture and kefir grains) - and compared it to purchased Lifeway brand plain kefir. Here are the results:
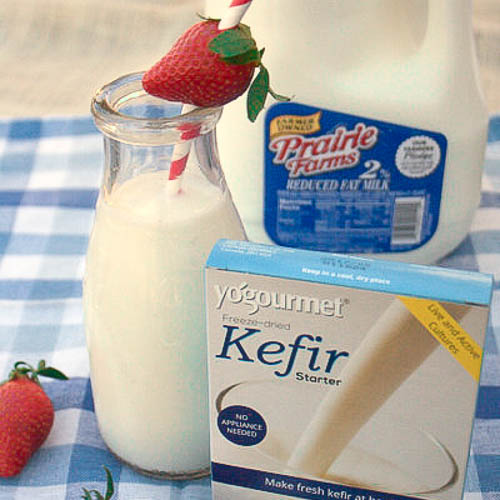
1)Yógourmet Freeze-Dried Kefir Starter Culture
Pros:
- Easy to find: I found this Yógourmet Kefir Starter at my local health food store for $8.99.
- Taste: My kids really liked the final kefir product. They described it as: "Just like plain yogurt but sweeter." "Thick and creamy."
- Contains yeast: According to the book The Good Gut, yeast plus many, many strains of probiotics is a main benefit of drinking kefir. Shelf-stable kefir doesn't always contain yeast.
Cons:
- An extra step: The step involves heating to repasteurize milk before activating the freeze-dried cultures. This doesn't take as long as How to Make Homemade Greek Yogurt. But it's not as simple as the one-step process described below with kefir grains.
- Fewer probiotics. Only 4 are listed on the package; but according to Yógourmet, there are at least 10 more strains present in the grains used in making the starter - which are difficult to isolate.
- Not renewable: Once your packets of culture are gone, they're gone (compared to kefir grains which live basically forever.)
2)Yemoos Kefir Grains (My favorite)
Pros:
- Easy to make. I can't OVER-emphasize how easy using Yemoos Milk Kefir Grains are:
- Add kefir grains to milk
- Wait 24 hours. Drink!
- Taste: It tastes like almost like lemon cream soda! It's fizzy, creamy, sweet-citrus and tastes like full fat dairy even though it's not.
- Hearty kefir grains. My kids thought my Yoomos delivery was for them - and it sat in their room for THREE days - despite the package warning to refrigerate immediately. But it still worked. And they last forever.
- Contains yeast. The aroma is like bread baking in the oven.
- Excellent how-to pictures, tutorials and FAQ on the Yemoos website: I got a ton of info here.
Cons:
- Shipping time. Wait 3-5 days (or drive to my house and I'll give you some that have grown off my grains.) Yemoos only ships on Mondays and Wednesdays. Milk Kefir Grains cost $15, but last forever.
- Takes a few days to get going. My grains took a few days to acclimate to their new environment. Be patient, they will grow. [bctt tweet="Too easy and #healthy not to try: How to Make Homemade Kefir - Low Sugar via @tspcurry #probiotics" via="no"]
3)Lifeway Store-Bought Kefir
Pros:
- No prep. Plus, lots of pre-made flavors which are fairly low in sugar.
- Great customer service for your questions. I had lots - and got an immediate email back.
Cons:
- Fewer probiotics. More microbes is better when it comes to gut health. So, the more variety in probiotics, the better. However, for folks that want to know exactly what's in their food, the Lifeway label lists all probiotic strains and the two yeast-based organisms: S. florentinus and S. diacetylactis
- More expensive. A bottle costs $3.99 in my local store which goes very quickly in my family of six - especially during spring allergy season.
For tips on How to Use Kefir, see my 3 Tips for Improving Gut Health post from Monday.
Fun Low-Sugar Flavor Combos:
Plain - The kids and I have been drinking a shot-glass full of plain every morning now that seasonal allergy season has begun.
Why shot glasses? Yemoos recommends adding kefir to your diet slowly - just so your digestive system can get used to it. The kids LOVE drinking out of shot glasses. (:

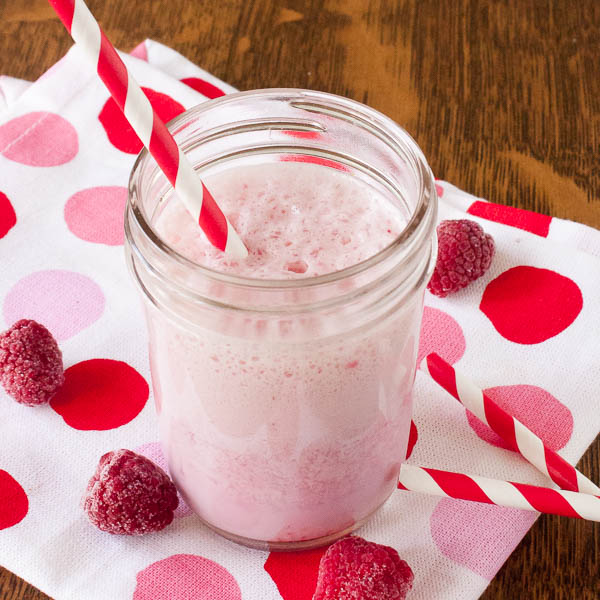
Raspberry Cream Kefir - Blend 1 cup frozen raspberries with 2 cups kefir in the blender. Tastes as good or better than our fave Lifeway flavor.

Chocolate Soda - A drizzle of chocolate syrup in a glass of kefir is a special fizzy treat. Great with my 'Good Gut' Peanut Butter Swirl Breakfast Brownies
For tips on How to Use Kefir, see my 3 Tips for Improving Gut Health post from Monday.
So...will you try making kefir? Do you drink kefir now?




Really enjoying this series! I had never even heard of Kefir, but after the last two days of misery I've endured from allergies I'm giving this a try!
Oh Heather! ): Thanks so much for stopping by and letting us know. Start slow...then try to drink every day. Another thing I don't mention...the benefits of trying different brands of kefir products is they all have different strains of probiotics/yeast. So if one doesn't work, another may. It won't 'cure' seasonal allergies...but after a couple weeks, it should help 'beef' up your immune system!
WOW- you are one busy woman! I have yet to actually try kefir, I know, bad RDN! I am encouraged though by those smiling faces to whip this up, plus, a little chocolate syrup always wins my heart.
I've never made fermented pickles or kimchi or certainly not kombucha... I haven't made homemade yogurt in a while. But kefir. I can do that; it's so simple. Thanks for the sweet note about my kids. They work very hard at being official taste testers!
I used to drink kefir daily and then I got hooked on kombucha but this post makes me want to explore kefir again- especially making my own flavors- thank you for the inspiration and I absolutely love seeing your kids take part in the taste testing- so cute!!
OK, Jess. Now you have to write about kombucha. I admit, I have never had enough guts to try it! But it is another thing The Good Gut says can be helpful!
This post was SUPER Interesting! I love kefir and definitely want to try making it myself! The yeast thing is interesting to me because kefir is such an excellent probiotics those struggling with improving GI health often turn to it for additional support,however, if they have a sensitivity to yeast it might make it worse! So interesting!
Good point Kelli! Homemade kefir probably has more yeast strains than purchased. I wonder if people with a yeast sensitivity could build up tolerance by drinking a super small amount of kefir daily, with meals? Thoughts?
I love kiefer and use it in smoothies all the time but I never considered making it. Great tutorial!
Thanks Mona! Enjoy making it ...they homemade stuff makes smoothies extra creamy!
I'm SO, SO excited about this! I cannot wait to start making kefir for Van! Thanks for all the tips! xo
You totally have to let me know how it turns out Alex. One update from this post, I no longer use a mesh strainer to strain out my kefir grains. I just use a plastic fork to fish the grains out of the finished kefir and drop them into the fresh milk. This is easier and doesn't require washing a mesh strainer every day. Just make sure to use a plastic fork as kefir grains 'don't like' metal utensils touching them (according to the Yemoos website.)
One more tip: When your grains are new, start by making about 4 oz of kefir a day, until your grains get use to your kitchen and are flourishing. I make kefir from about 10-12 oz whole milk daily. If you don't drink this much, or are away from home for a few days, just let your grains rest in the refrigerator. To do this, put the grains in about 4 oz whole milk in a glass jar, cover, and keep in the fridge for up to a month.